Announcing Pre-Commit Hooks Package for Swaggo
Introduction
I’m happy to announce that Go projects that are using swaggo/swag for their Swagger Docs generation can now utilize a pre-commit hook to automatically format and generate their Swagger Docs.
Check out the repository to get started: muya/swaggo-hooks.
What is pre-commit?
Pre-commit is multi-language package manager for Git pre-commit hooks.
It works by installing git-hooks to your repository, while allowing them to be written in a variety of supported languages.
For example, if you have some Go code, and would like to ensure it’s correctly formatted before being pushed to your repository, you can install a pre-commit hook that will run when the user preforms git commit on their computer.
Why is this important?
The main advantage that I’ve seen coming from using pre-commit is ensuring that code reviews can focus on the code, and not developers giving feedback about code styling and formatting.
If the team has an agreed upon way of doing this that can be automated, we have it run automatically even before the code reaches the repository.
This allows the code reviewer(s) to focus solely on the changes that are being proposed, enhancing their productivity.
What is swaggo/swag?
swaggo/swag is a Go package that enables generation of Swagger 2.0 Documentation from annotations in your Go code.
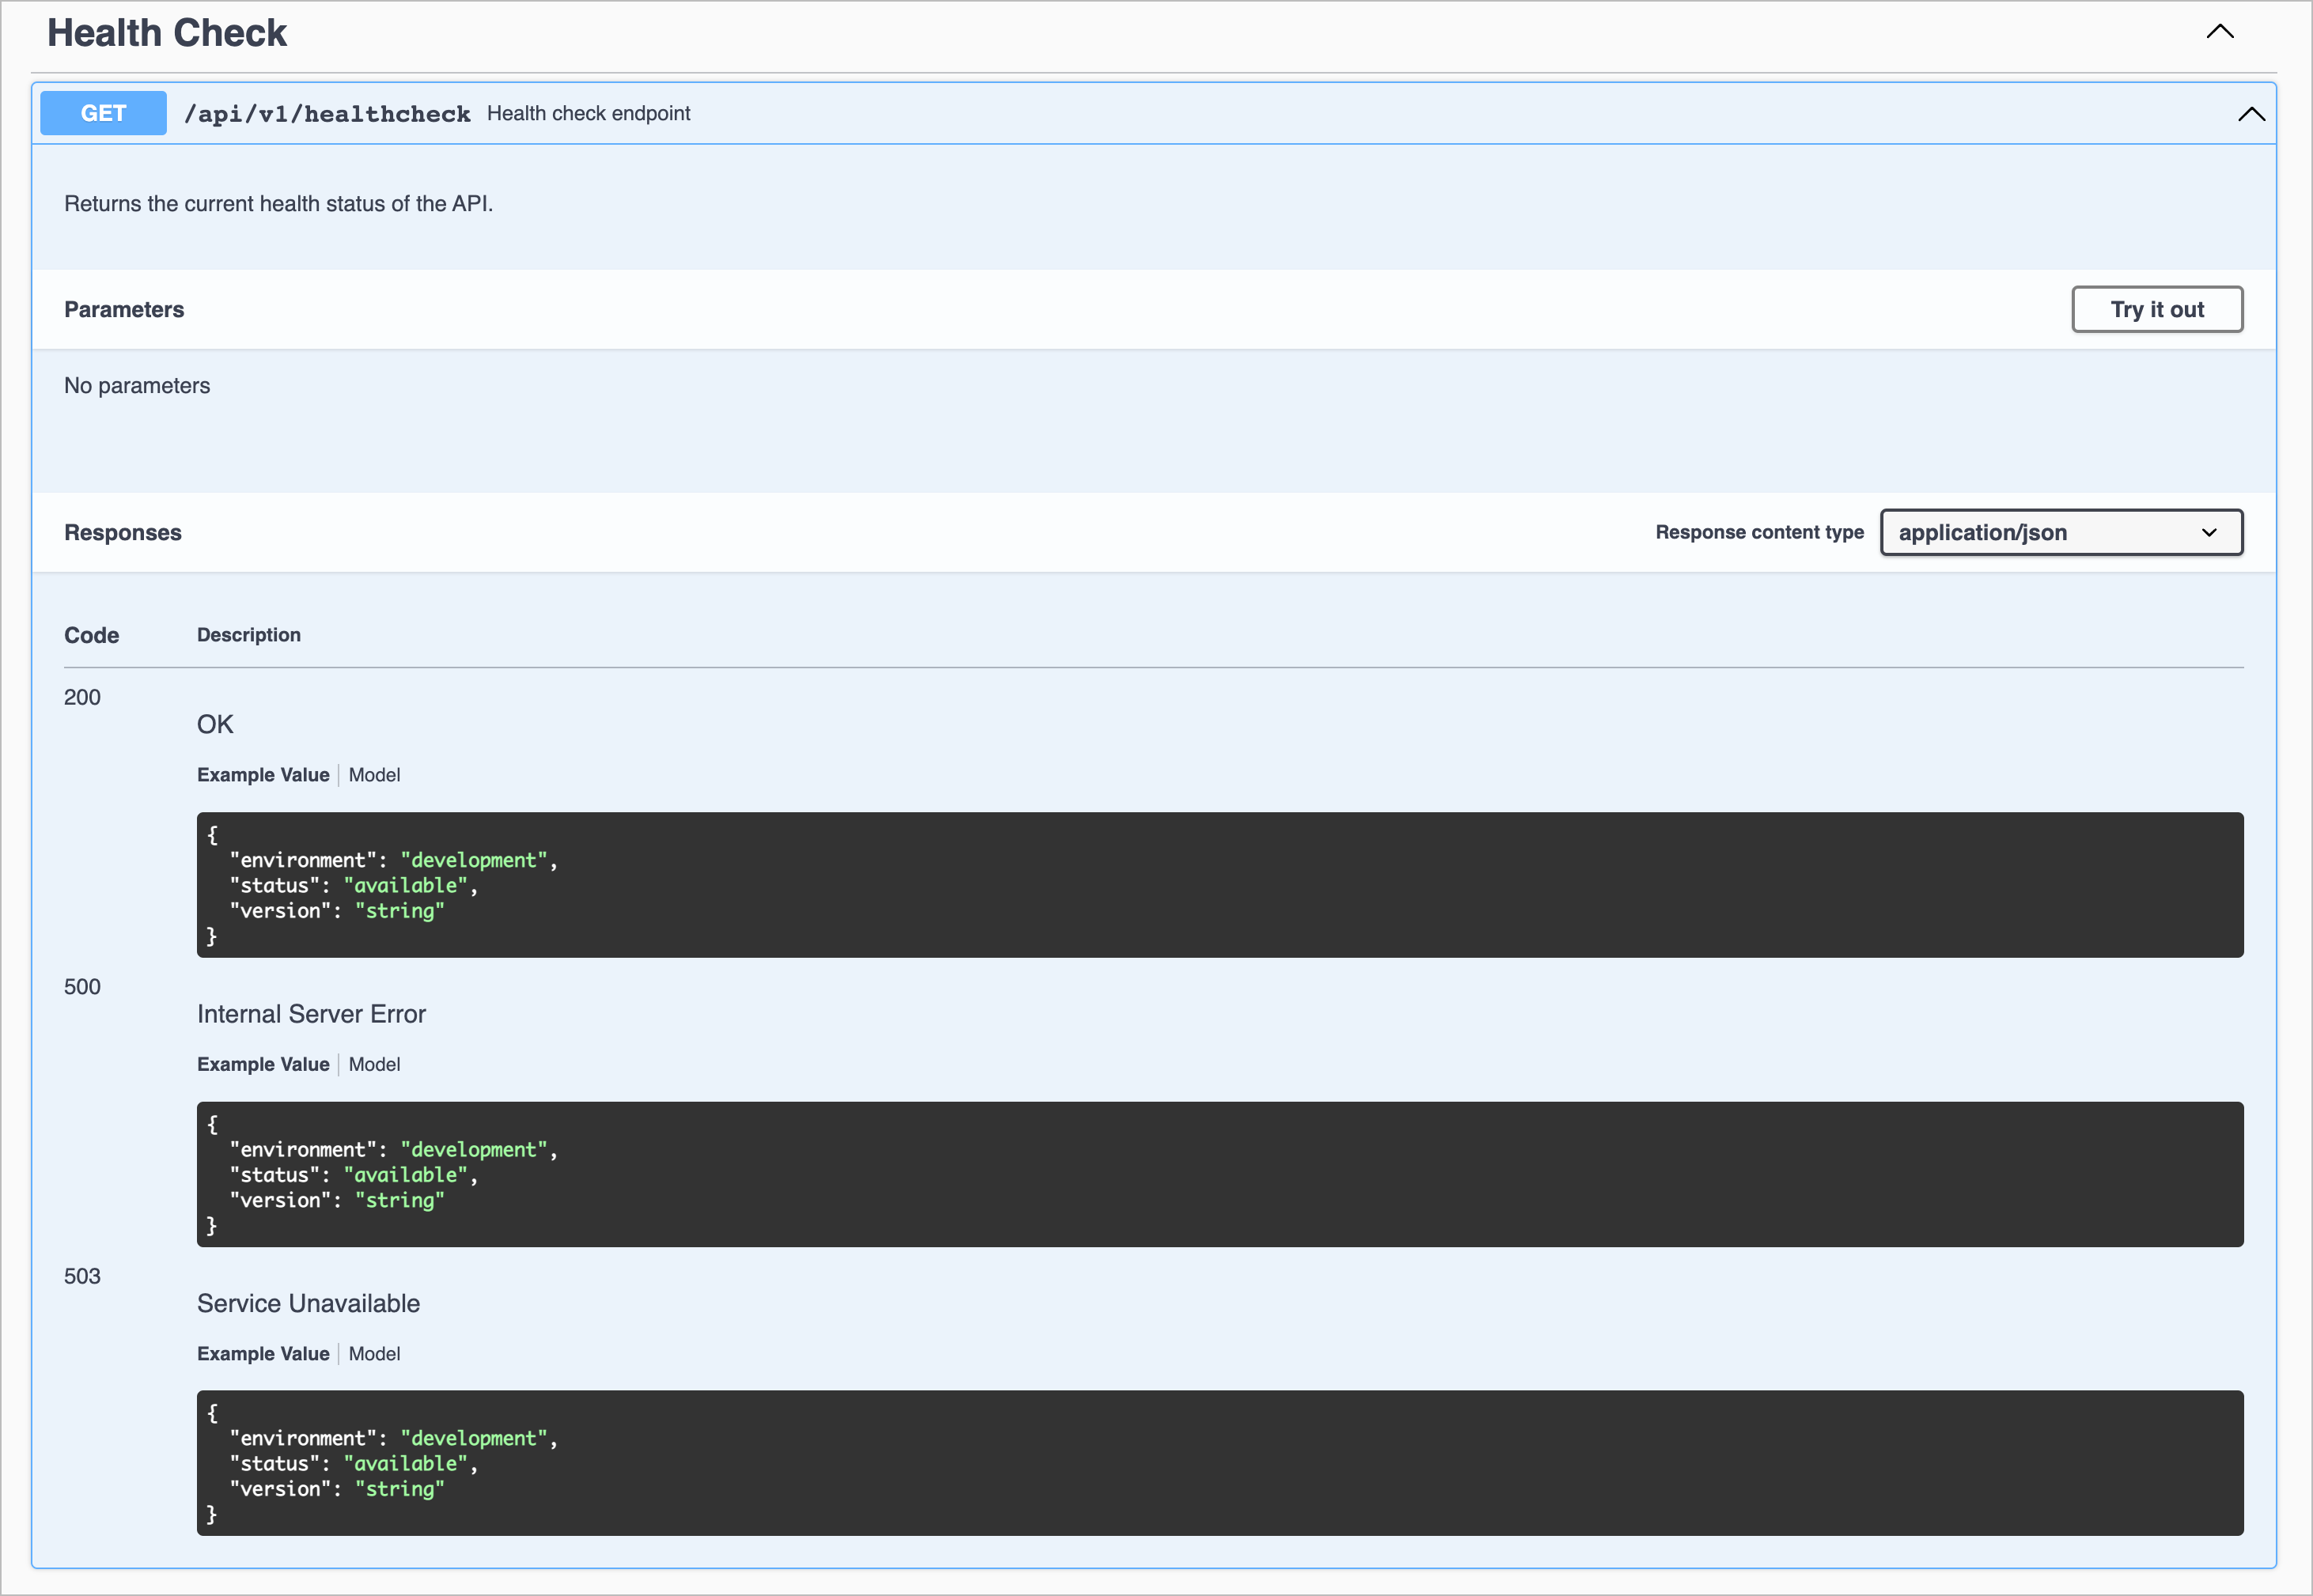
This enables the sample code below:
// healthCheckHandler returns the current health status of the API.
// @Summary     Health check endpoint
// @Description Returns the current health status of the API.
// @Tags        Health Check
// @Produce     json
// @Success     200 {object} healthcheck.Response
// @Failure     500 {object} healthcheck.Response
// @Failure     503 {object} healthcheck.Response
// @Router      /api/v1/healthcheck [get]
func (app *application) healthCheckHandler(w http.ResponseWriter, r *http.Request) {
    // ... your applicaiton code
}
to be converted to this:

If you’ve ever had to manually write up an Open API spec, you know the kind of pain that is involved.
swaggo/swag eases this process, and allows generation of the Open API spec in JSON & YAML.
What does muya/swaggo-hooks hook do?
The goal of the swaggo-hooks package is to ensure that:
- swaggo annotations in the code (i.e. the comments) are correctly formatted according to
swag fmt - The latest version of the specs are generated before committing (using
swag init)
This guarantees that in case any updates have been made to the Swagger specs, you can always ensure that the latest specs are made available in your repository.
Summary
And that’s it!
Head on over to the project to learn how to use it, I hope you find it useful.
Until next time, happy coding!