Goodbye Disqus, Hello utteranc.es
¡Hola! Welcome to another blog post!
In this one, we’ll be talking about moving away from Disqus as the commenting platform on this blog.
This is a task that’s been on my “to-do” list for over 1 year, with the inspiration being this blog post by Supun Kavinda - Disqus, the dark commenting system.
Yes, super ominous title, but at the same time, it made me really think about what kind of privacy options I’d want when visiting a website.
While that blog post was also intended to promote an alternative solution (Hyvor Talk), it brought up some really good points about what the experience of a visitor on the website is.
Specifically:
- How much do you value the privacy of the folks coming to your blog?
- How much do you value how fast your site loads?
After reviewing a few options:
- Hyvor Talk - Paid, with tiers
- Commento - Paid; self-hosting option; open-source
- Talkyard - Paid; self-hosting option; open-source
- Utteranc.es - Free using GitHub Issues; open-source
I ultimately decided to go with Utteranc.es; it was the cheapest (in terms of time & money) to set up, and since the blog is also hosted on GitHub Pages, it made sense to leverage GitHub Issues for comments as well!
Of course Hyvor Talk, Commento & Talkyard provide way more advanced features, and would definitely recommend them for scenarios where there’s a lot more conversation happening, and owners require more tools (such as moderation, spam filtering, voting, etc).
However, for this blog, there isn’t usually much activity, and Utteranc.es fits the bill perfectly! (I only hope that the lack of activity wasn’t due to usage of Disqus… we’ll see).
How Does It Work?
Utteranc.es (don’t you just love clever usage of TLDs!) works as a GitHub App with access to the “Issues” section of your chosen public repository.
Once you install it and hook it up to your repo, you add a small piece of code to your blog’s template, and it will show up where you set it up within your blog.
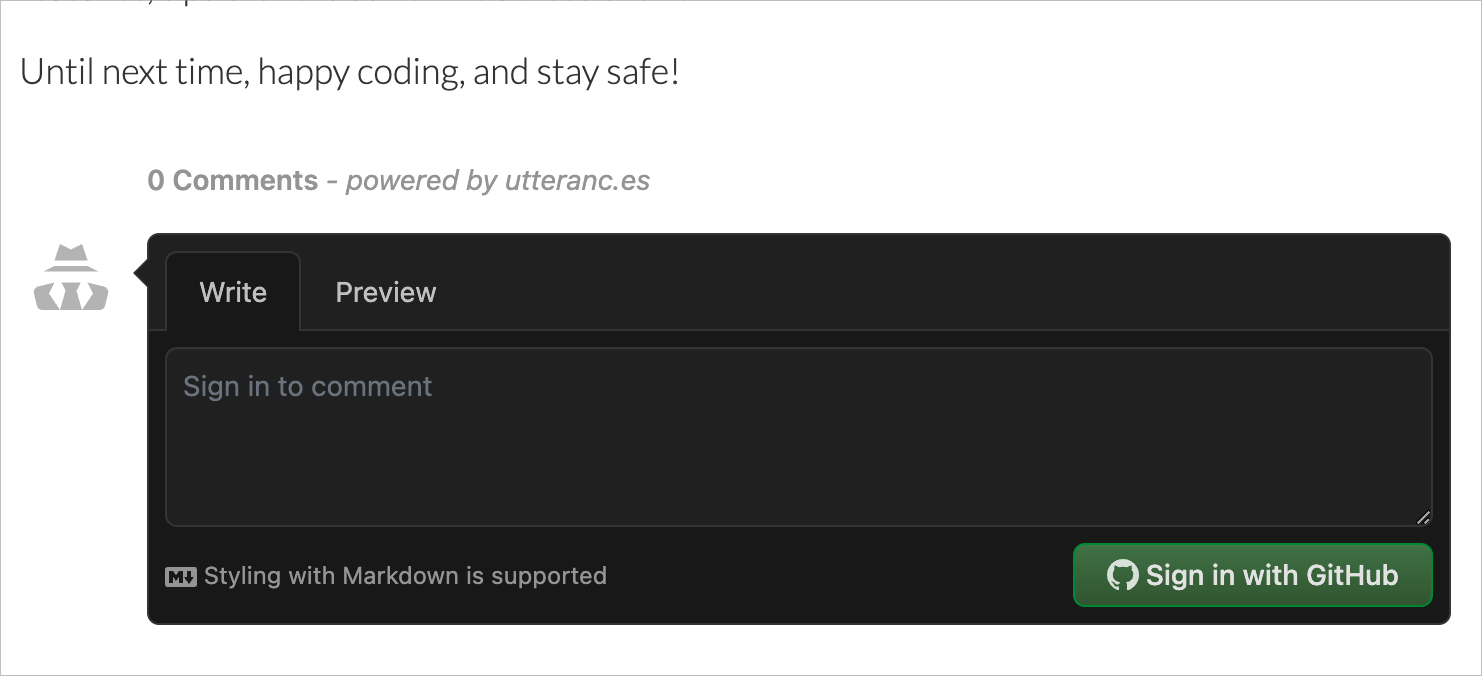
The main limitation is that for someone to comment, they need to have a GitHub account. Once they sign in and authorize the app, any comment added shows up as a GitHub issue on the repository you selected.
It also provides theming options for what the comments will look like, all built using GitHub’s Primer for styling.
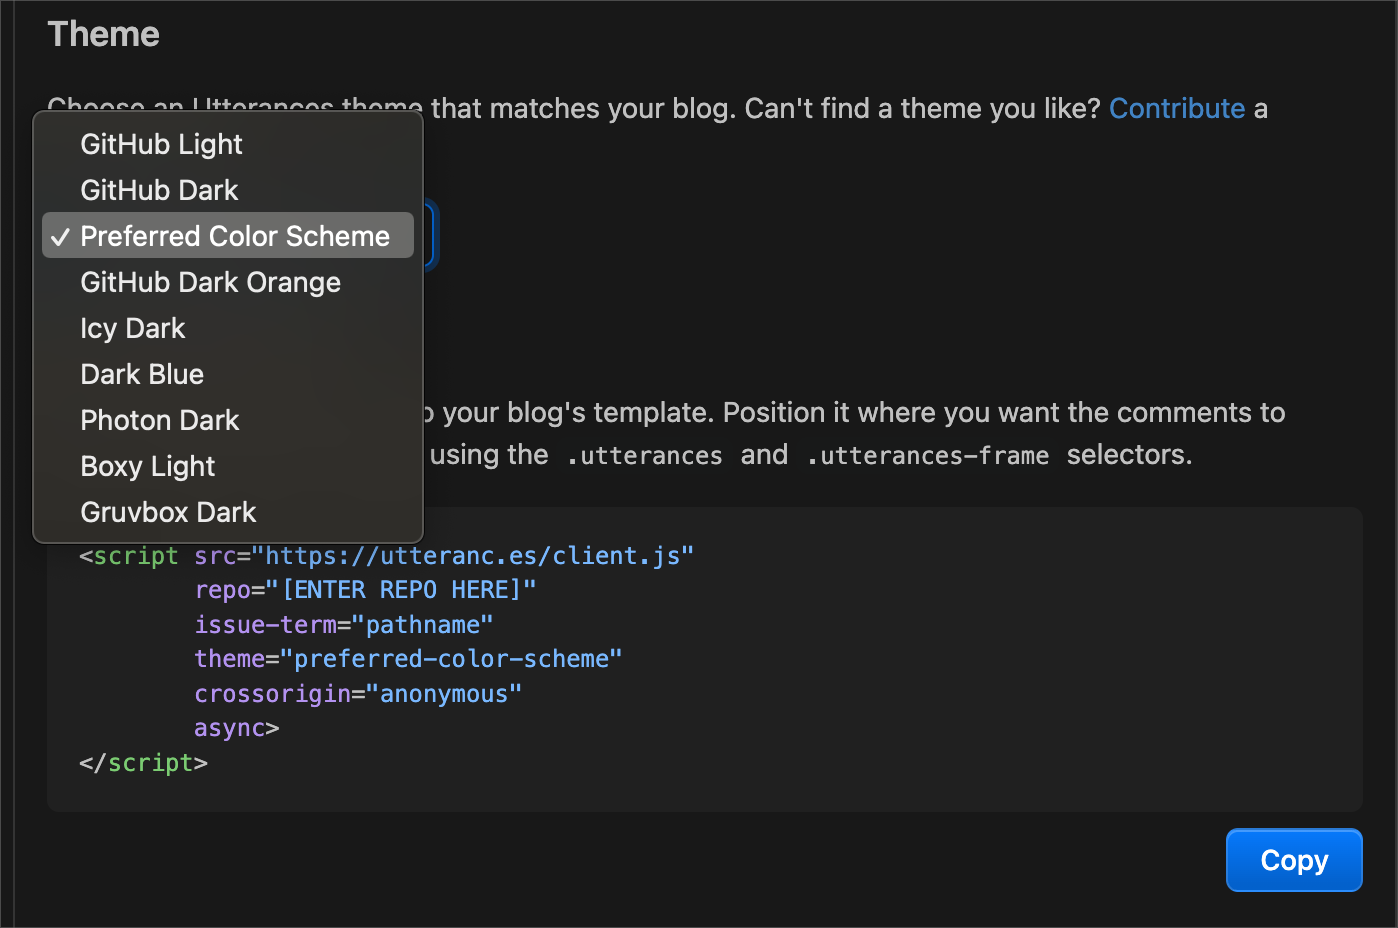
My favourite is “Preferred Color Scheme”, which adapts to whatever is set on your system - let the user choose 🙌🏽.
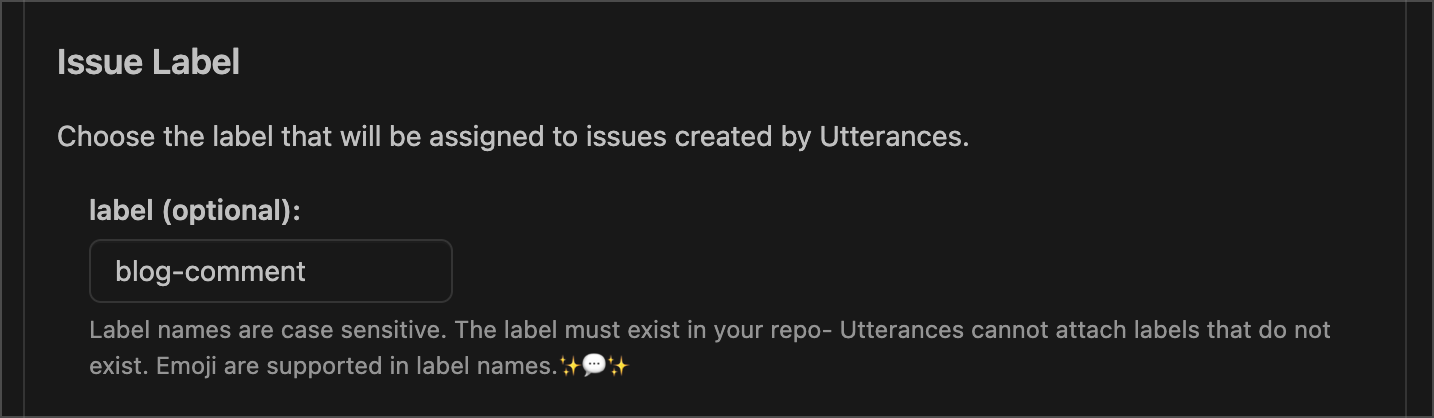
There’s also an option to set a GitHub Issues label that will automatically be added to issues created via the app, which makes it easy to distinguish comments from the blog vs. other issues raised on the repository.
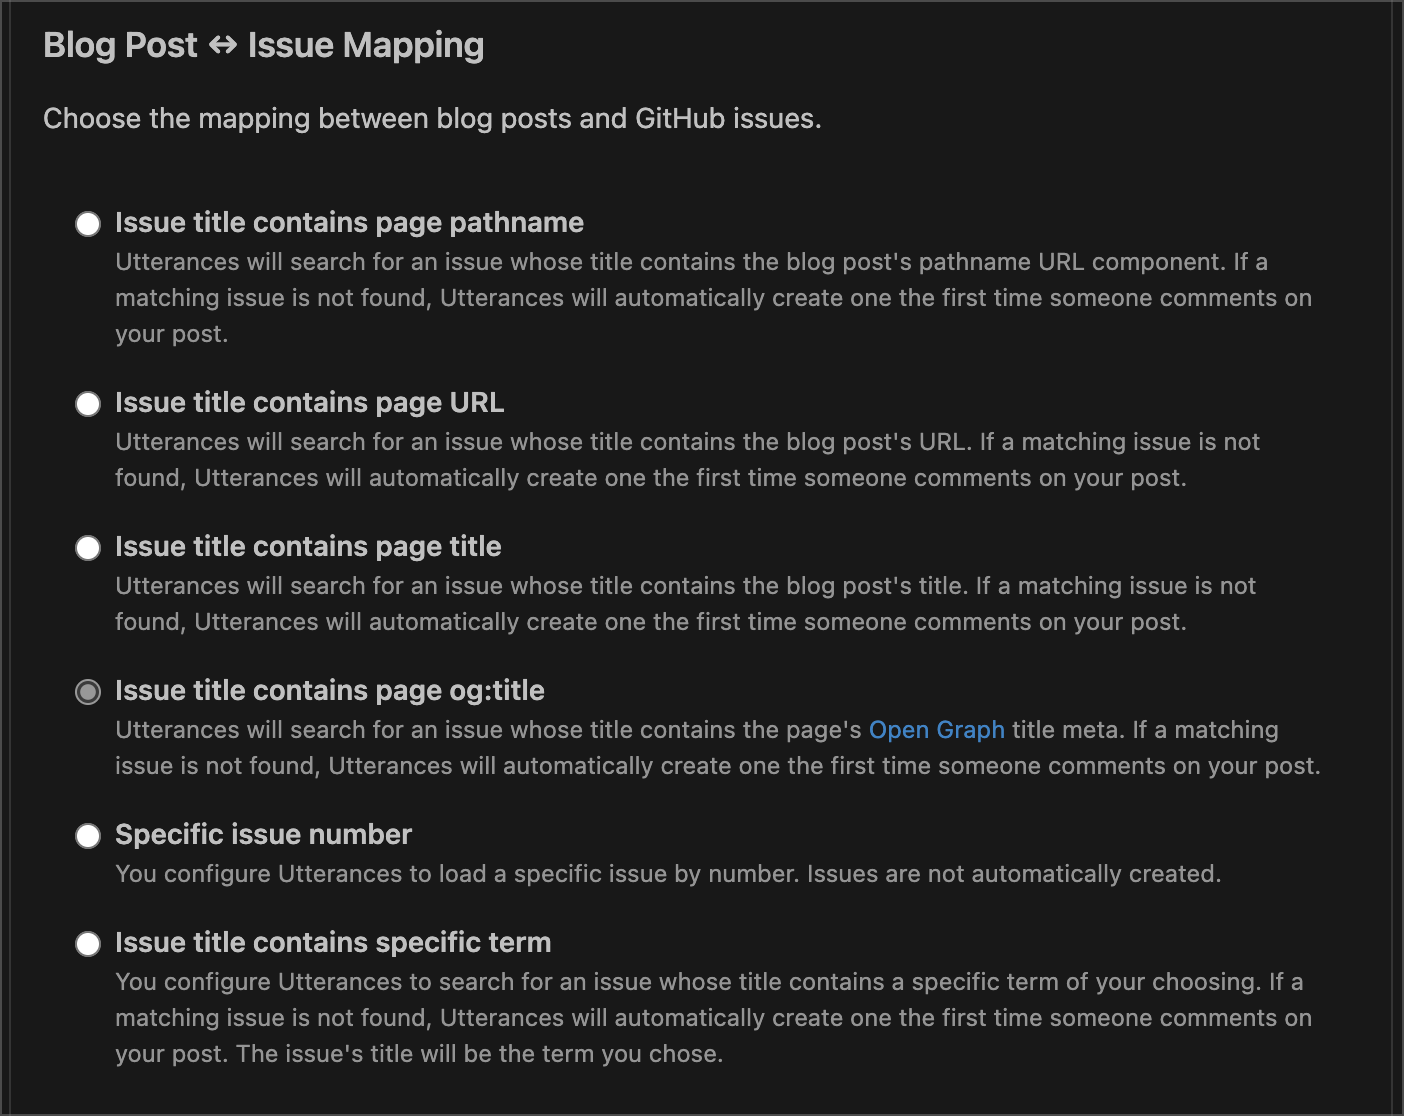
Finally, you can choose how you want issues on the repository to get mapped to the blog posts.
This ensures that all comments from a particular post get added to the same issue.
For this blog, I opted to go with the Open Graph title meta: og:title, since it was already existent on my blog - I only have to make sure that doesn’t change often.
And that is it! This set up took me less than 10 minutes to finalize, and I could add comments immediately!
Migrating Comments From Disqus
With utteranc.es set up, the next step was moving over comments on existing posts from Disqus and into utteranc.es.
Hello (mini) data migration!
If we were to think of this as an ETL pipeline, this is what it would look like (and no, this wasn’t only an excuse to use the ExcaliDraw plugin in Obsidian 😅):

Let’s explore each phase.
Extract
The Extract phase of the pipeline is where we typically fetch the data we want to work with. In this case, the data was the original set of comments on Disqus.
Fortunately, Disqus provides at least 2 options to access your data from their system:
- A data export - which gets sent to your email in XML format
- JSON APIs
The data structure from the JSON APIs is a bit complex, and took some time try and understand where everything was; the most complex part for me was understanding the hierarchy of content on the blog, i.e. what’s a thread/post/etc.
I can’t say I fully understood it, but I obtained a rough idea.
Additionally, I explored the exported data I got from Disqus. This got me thinking - I’m sure I’m not the first person to work with this.
After some DuckDuckGo-ing, I came across some Python code from paul-hammant/escape_from_disqus that did exactly this!
Given the fact that I was only planning to do this migration only one time, and the code already existed, I opted to go with the exported data + the Python script. Shangwe! to open-source software 🍻!
Transform
The script on that repo does the following:
- Look for the Disqus XML export file (named
comments.xml) - Go through the comments and removes any posts marked as “Spam”, or “Deleted”
- Creates output files in JSON & HTML (super handy)
After playing around with the script, and exploring options for populating comments to existing blogs, I realized that a Markdown format would be most appropriate, since it provides simpler formatting than HTML, and works very well with GitHub Issues comments.
I also learnt that GitHub comments supports HTML!!!
To enable Markdown output support, I forked the repo and modified the script to include Markdown as output. Check out the main additions on this diff.
Once the script ran, it output the generated files in different formats (JSON, HTML & Markdown), with each file representing comments from one blog post.
Some interesting challenges I faced:
Conversion of Content From HTML in XML to Markdown
Given that the data export from Disqus is in XML format, the content of the comments were wrapped in a CDATA node.
In my past experience using XML, CDATA has always been used as a cop-out to include non-conforming XML in a SOAP payload.
However, in this case, it was a valid approach, since the comment content was HTML, it made sense to encase it in a CDATA node.
The challenge was converting this content from HTML to Markdown.
Thankfully, there’s usually a Python package for almost everything.
In comes, Markdownify. It’s a package that converts HTML to Markdown.
An import, and a method call later, the Markdown format of the HTML was available!
# import statement
from markdownify import markdownify as md

# some code...

# in the markdown format generator section (psueudo-code)

markdown_output = md(html_message, newline_style="SPACES")

# newline_style defines how HTML line breaks (<br>) get converted to Markdown
With that, all that was left was to format the comment into the Markdown layout we needed!
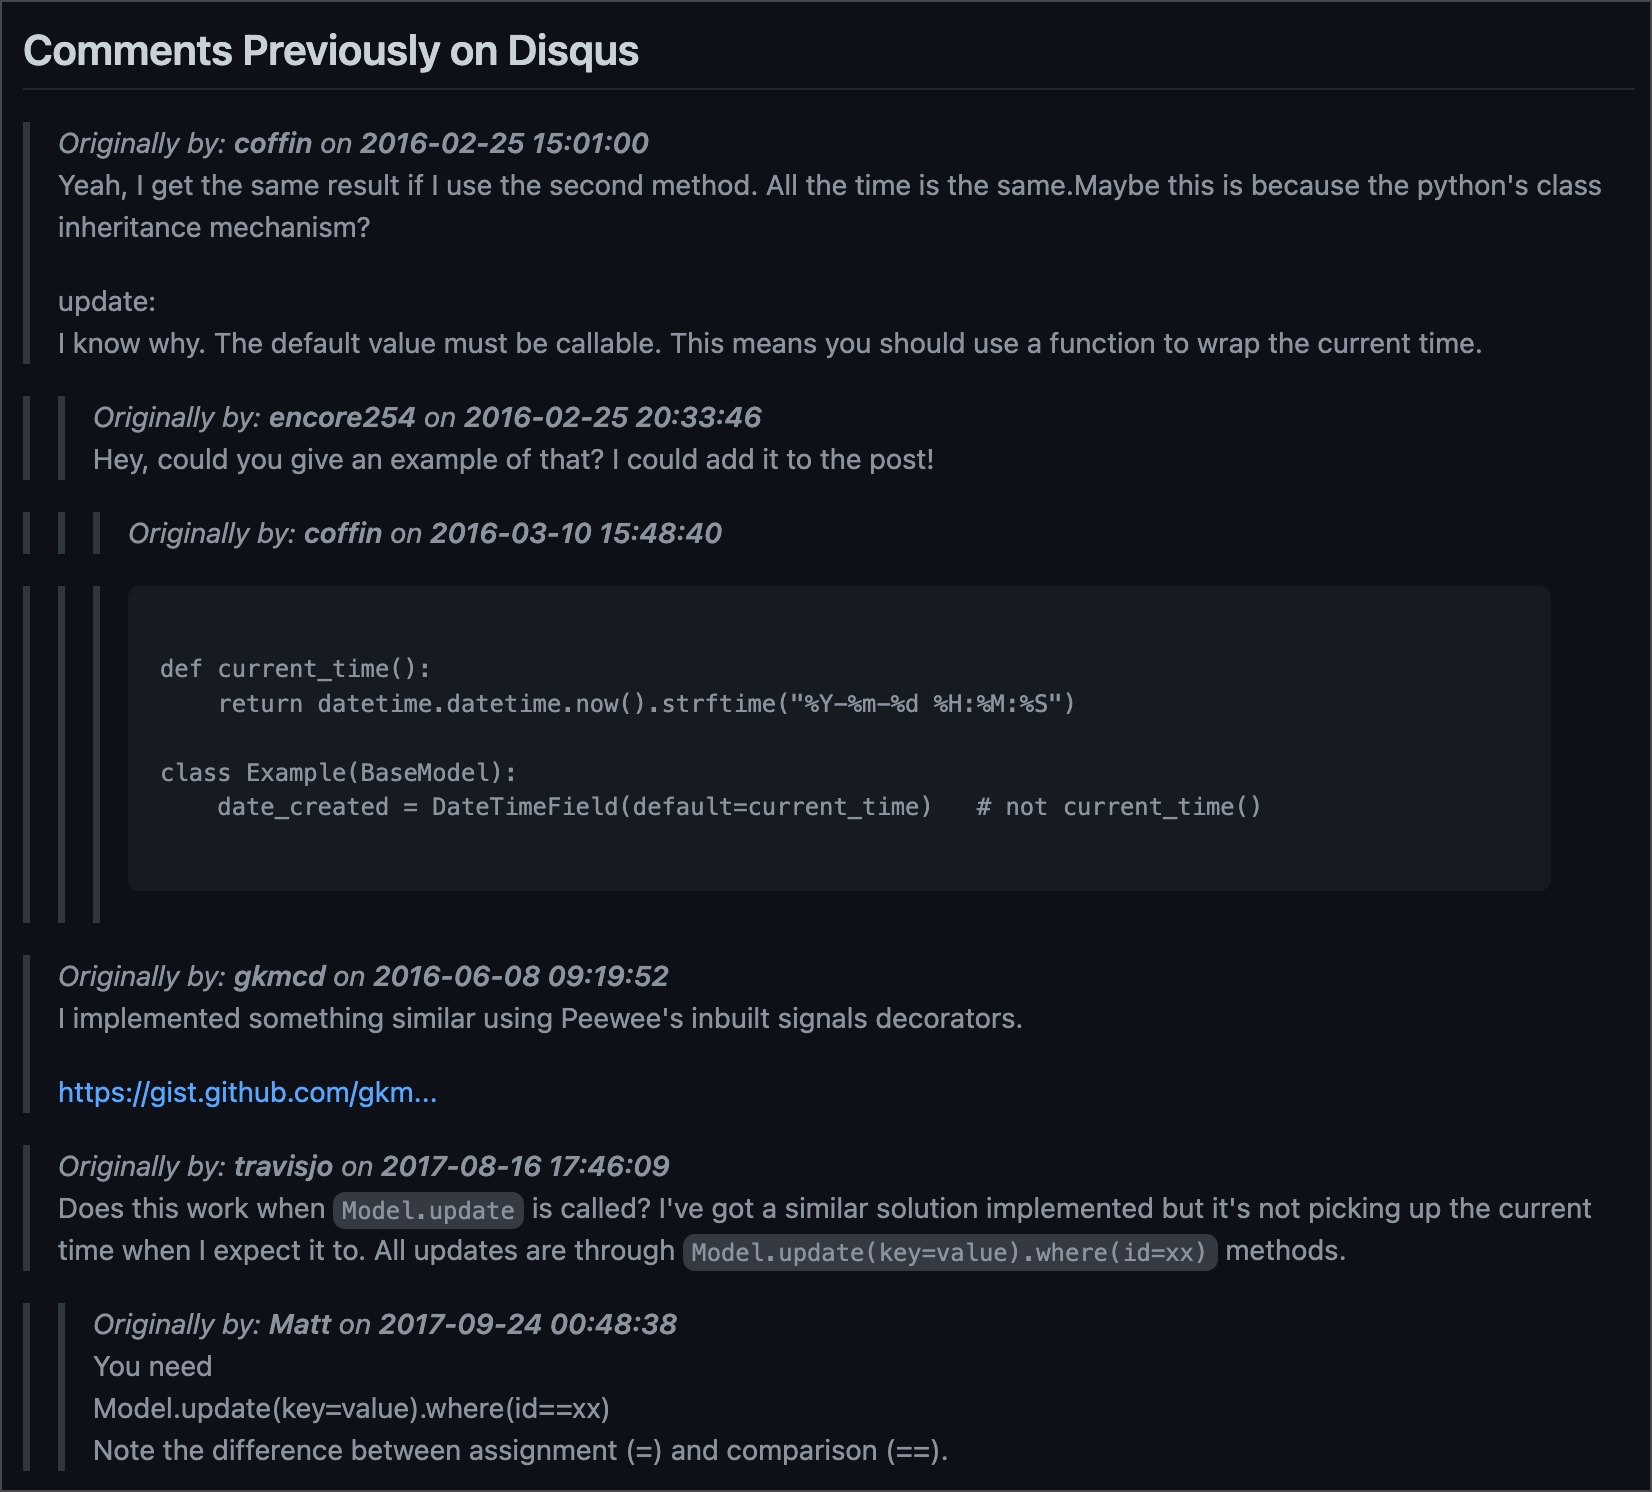
Preserving the Hierarchy of Comments
We needed to solve how we would represent the hierarchy of comments (i.e. replies to comments), so that previous context wouldn’t be lost.
Building upon the approach used for the HTML format, I opted to use blockquotes with indents to represent this.
This way, it was visually clear(er) that the message was a response to the previous comment.
Load
Finally, it was time to add the comments to GitHub Issues.
I had 2 options:
- Use the GitHub Issues API
- Copy + paste the comments into the blog posts themselves, so that utteranc.es would generate the issues
Given my special circumstances (i.e. this was a one time thing, and that there were only 15 comments), I opted to Keep It Simple™ and copy pasta the markdown into the blog posts directly; this took less than 10 minutes, and it helped validate that the Utteranc.es integration was working well.
Lo & behold, the GitHub Issues section for this blog’s GitHub Pages repo now hosts the comments! Check it out: Muya’s Blog GitHub Issues Page
With that, our mini data migration was complete (and an item was finally moved from the “to-do” list!).
I hope you enjoyed this walk-through! Let me know in the (new, shiny) comments section!
Until next time, happy coding!