Yii Tutorial: Initial Yii Setup
In this section, we’re going to set up our Yii application. The examples given refer to a Linux environment, however, it shouldn’t be too different for Windows and MacOS environments. Feel free to ask in case of any questions.
Ensure you have your web server (Apache, etc) set up and running and navigate
to the web root using the command prompt (/var/www/ for Apache on Ubuntu,
/var/www/html/ for Red-Hat based systems)
Download Yii and extract it. For security purposes, you are advised not to extract Yii into your web root, so as to reduce accessibility by unauthorised applications. (However, for testing purposes, you may extract it there and check on your browser for successful installation: http://{YOUR-SERVER-NAME}/{PATH-TO-YII}/requirements/index.php
For the remainder of these steps, YiiPath will refer to the directory in which you installed Yii, webroot will be your web root.
$ cd webroot
$ YiiPath/framework/yiic webapp StudentPortal
# enter 'yes' at the prompt
That’s it! Simple as that. Check if your application is ok, go to http://{YOUR-SERVER-NAME}/StudentPortal/index.php on your browser. You should have something similar to the image below:
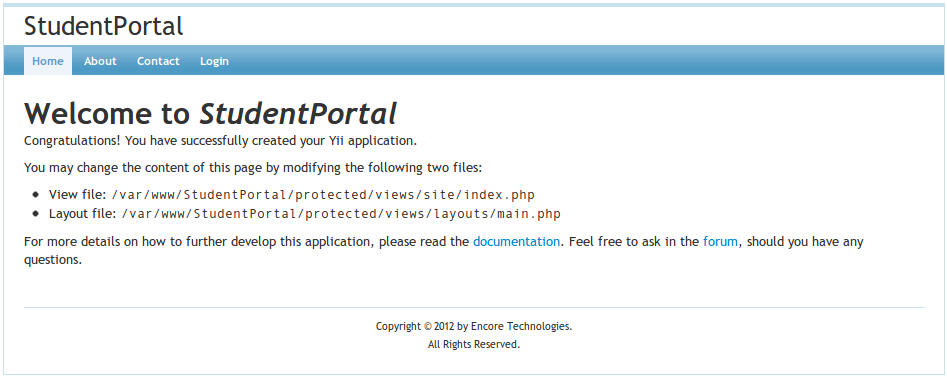
You can check out the application. Though there isn’t much to do with it, you can log in with username/password: admin/admin or demo/demo and check out the About and Contact pages.
Now comes the fun part …
Any feedback, requests from you is greatly appreciated.